At times, data recovery is required because a disk suddenly fails due to an unforeseen physical reason. The machine may have experienced a large power spike, or perhaps your laptop was inadvertently dropped on the floor and now will not start. In these cases you may not be able to access the hard drive at all and your recovery options may be limited to backups that were created at a previous time. Hopefully, those backups exist.
Signs of a Failing Hard Drive
Your hard drive will often give you subtle or more direct hints that it is not operating at full capacity and may be getting ready to crash on you. It is a physical device that will eventually wear out in some respect. It could just be wear and tear, or the accumulation of small power spikes, but your disk just is not performing as well as when it was new.
Excessive heat, human errors such as faulty registry settings, corrupt files, and firmware problems are other reasons your drive may be underperforming. Here are some signs to look for that indicate your disk is headed for trouble.
- 🔊 Strange sounds coming from the disk. Grinding sounds may indicate problems with the spinning disk. A clicking sound often accompanies write errors as the head attempts to recover from the error.
- 🛑 Frequent error messages when performing regular activities such as moving files. These may be strange messages that seemingly do not make sense based on what you are doing with the computer at the time.
- ⏲️ Extended wait time when attempting to open files or folders. The disk may take a long time to respond to the command or to return the results.
- 🐌 Slow overall response from your computer accompanied by missing files and folders. Garbled file contents and file names are another indicator of impending drive failure.
- 💥 Frequent system crashes are another strong signal that your disk is in danger of failing.
Why Create a Disk Image?
If you think your hard drive may be malfunctioning, it is in your best interest to back it up to enable you to perform data recovery on it at a later point in time. Unfortunately, by the time you notice that your drive may be getting ready to fail, it might not be able to take the stress of performing a regular backup on it.
At this time, you need to employ the features of the Disk Drill data recovery tool that will enable you to preserve as much of your data as possible and put it into a format that you can use for data recovery. The first step in this process is to create a byte-to-byte disk image of the troubled disk.
The only drawback to this method is that you need enough space on another disk to hold the backup. It would be pointless to store the backup on the affected disk, as the object is to get the data safely off a damaged disk. We need the backup to be on a healthy disk so it can go through the strain of the recovery process.
Creating and Recovering From a Disk Image with Disk Drill
Below we will walk you through the steps to enact this type of recovery. We are using a removable USB drive named “Wilk USB DISK 3.0” as our target drive, and will create the DMG image and perform a recovery from that image. The process can also be done using your main hard drive if you have an external drive attached that can hold the backup image. Here we go.
- If you haven’t already done so, download and install Disk Drill on your computer.

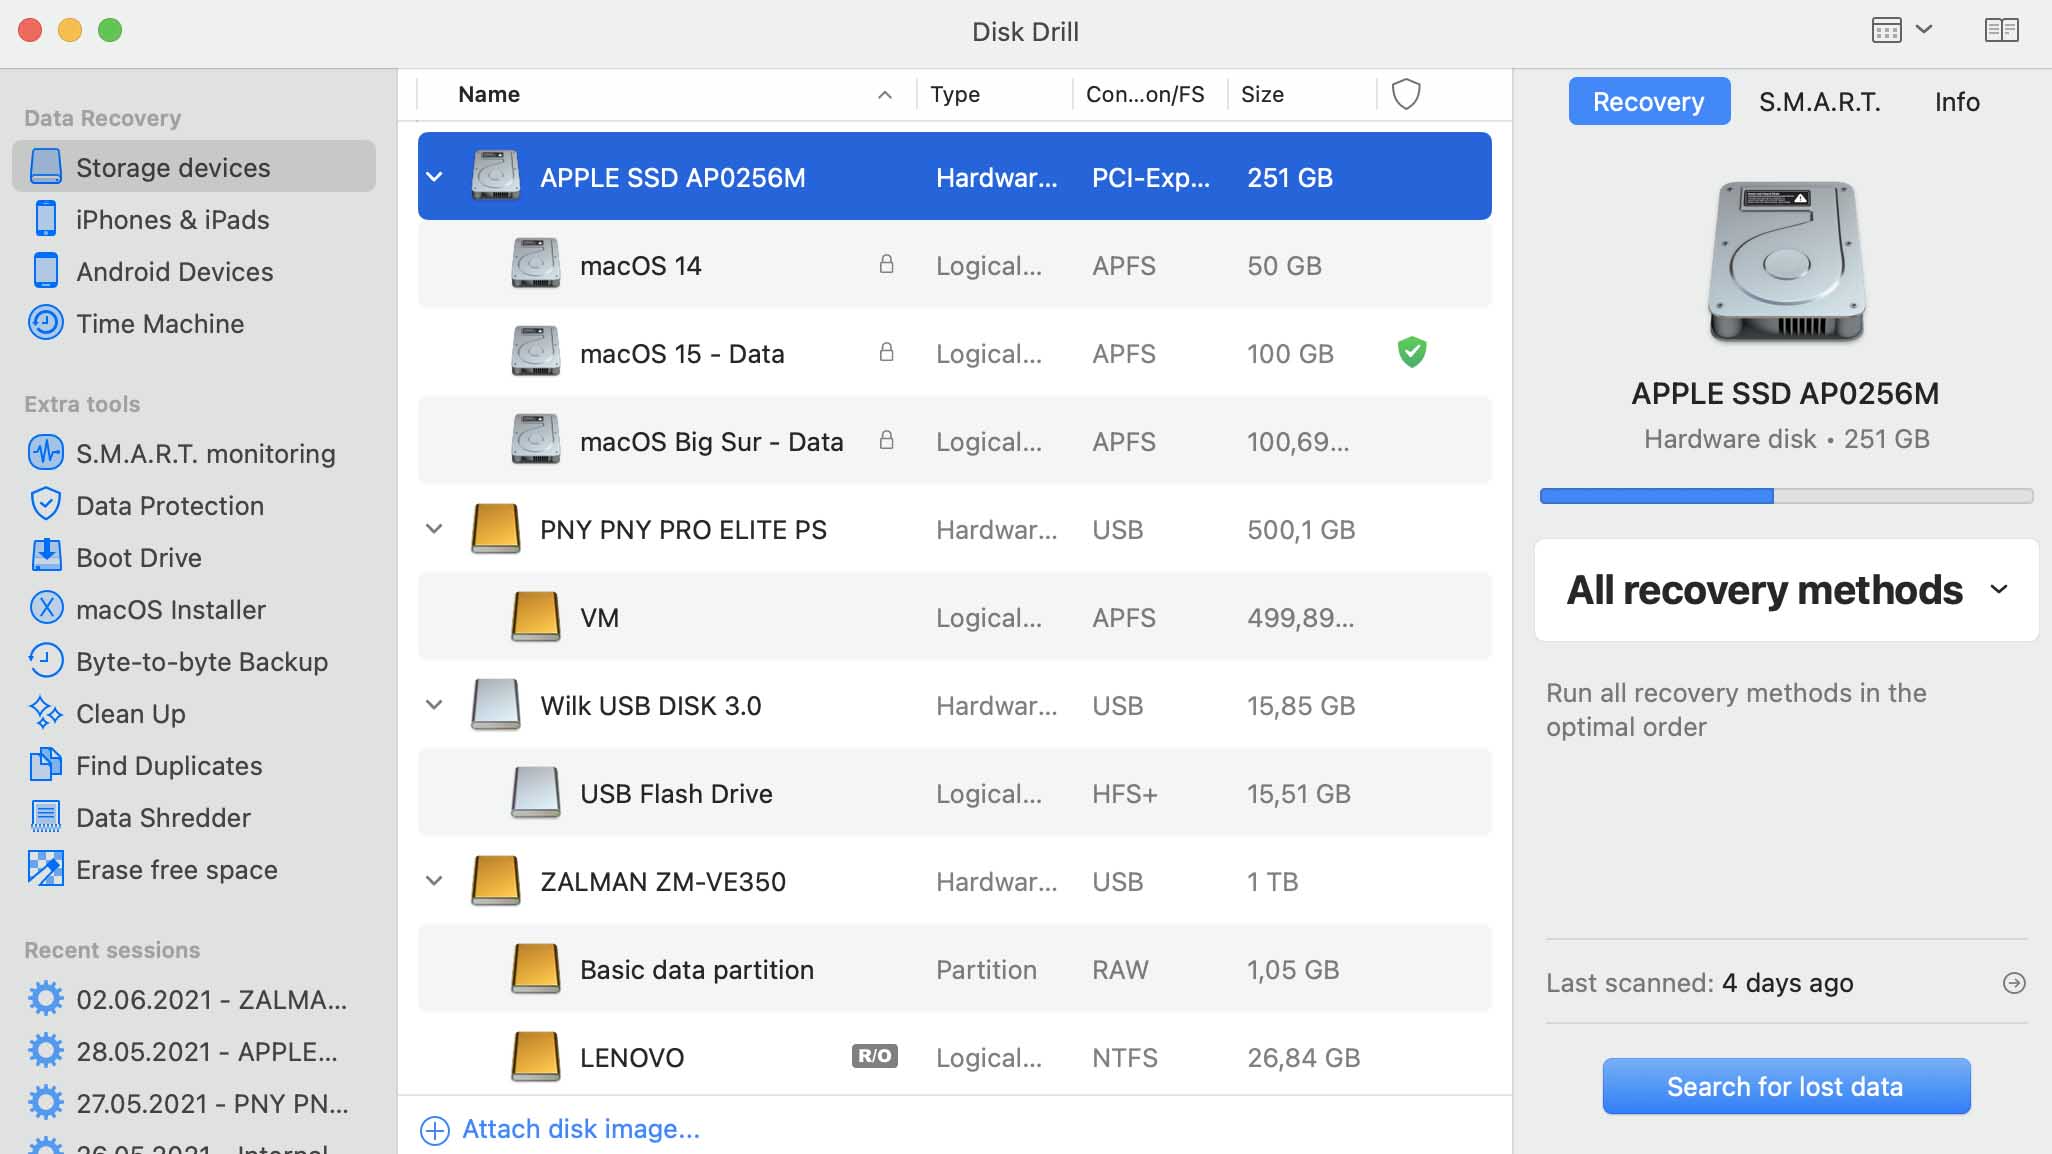
- Start the program and you should see a screen like this:
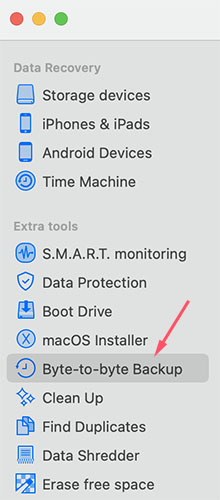
- Select “Byte-to-byte Backup” from the “Extra Tools” menu in the left panel.
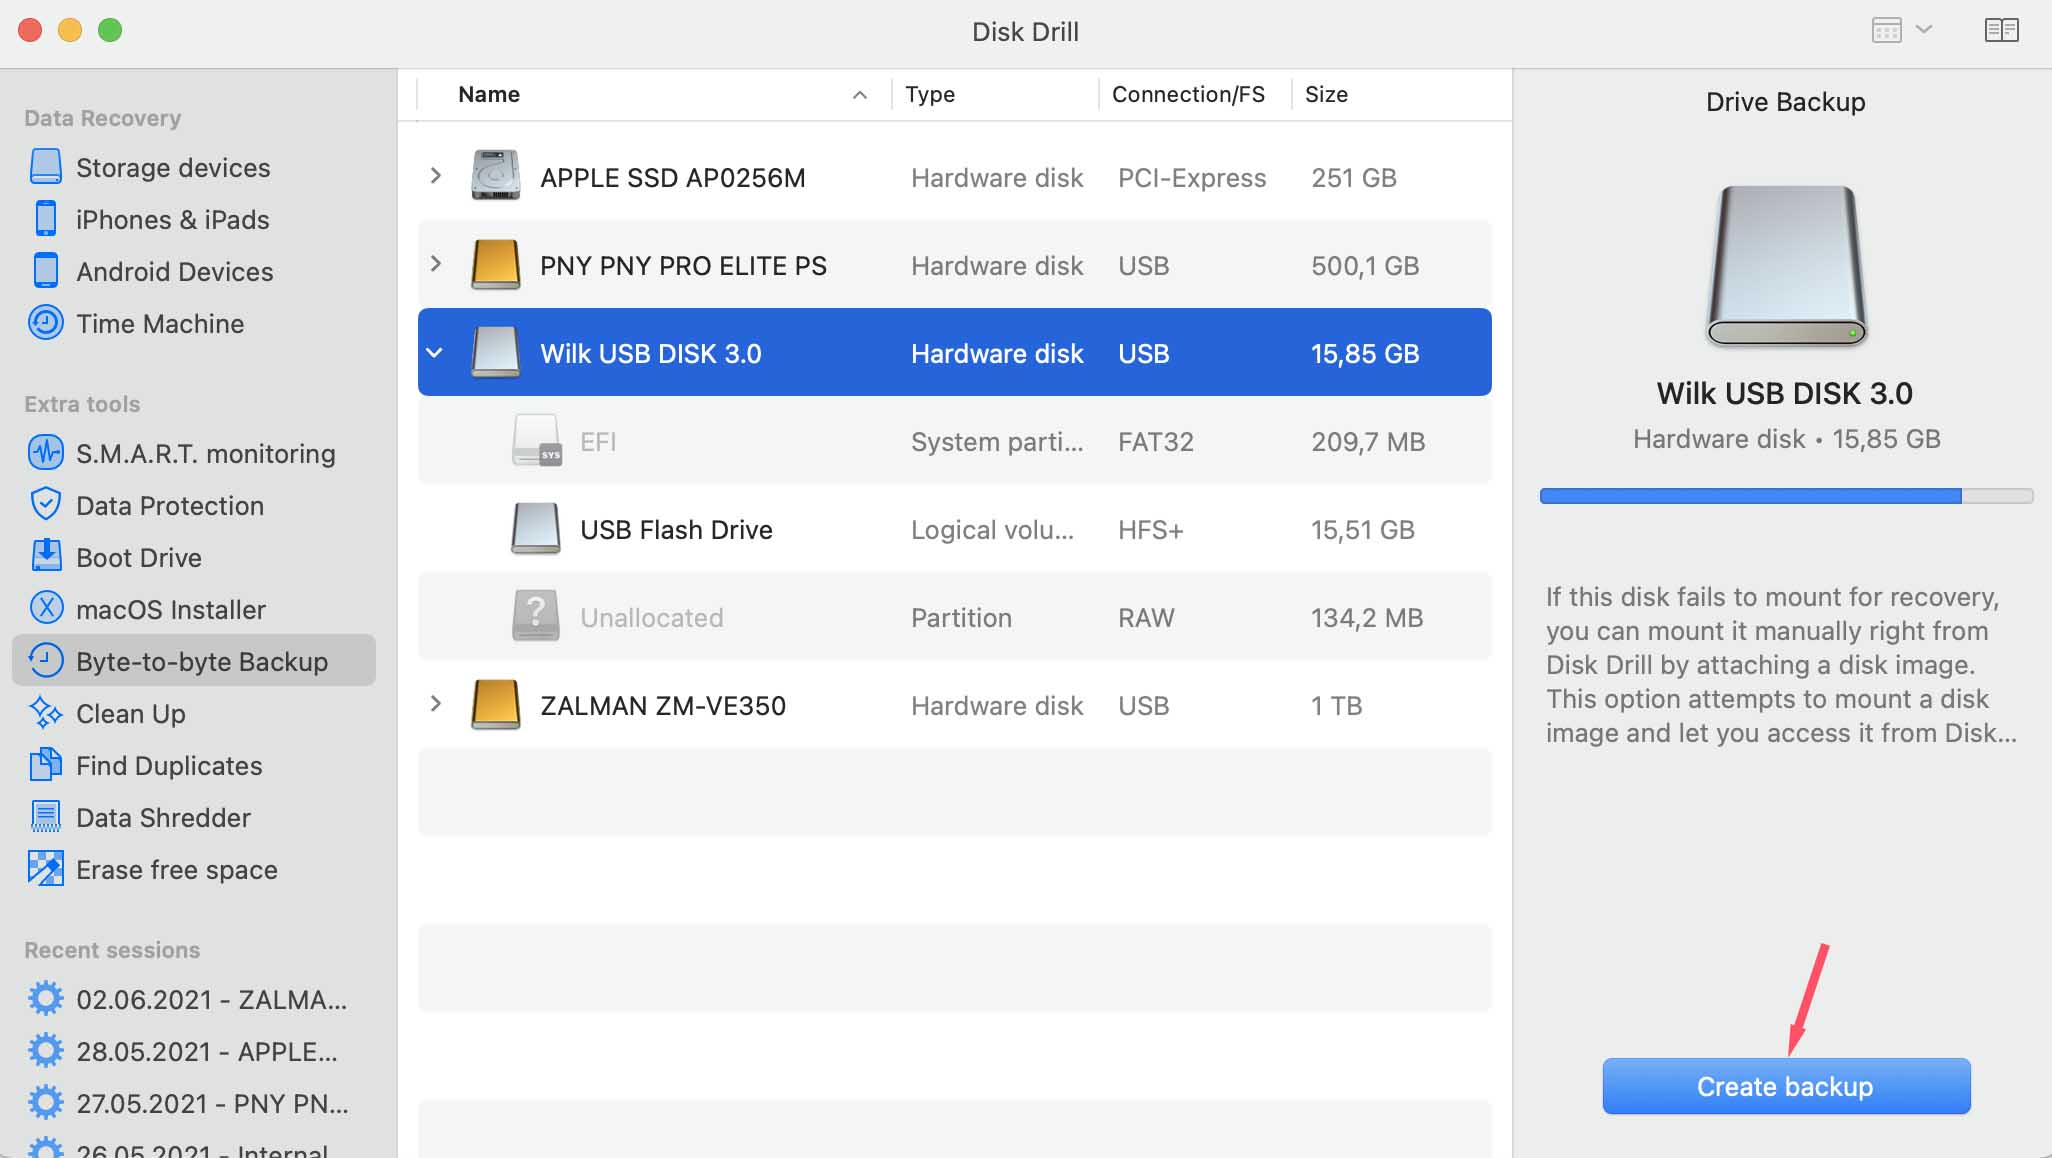
- You will now be presented with the disks that are available to be backed up into a disk image. Select the disk you need to back up and click the “Create backup” button. We recommend backing up the whole drive.
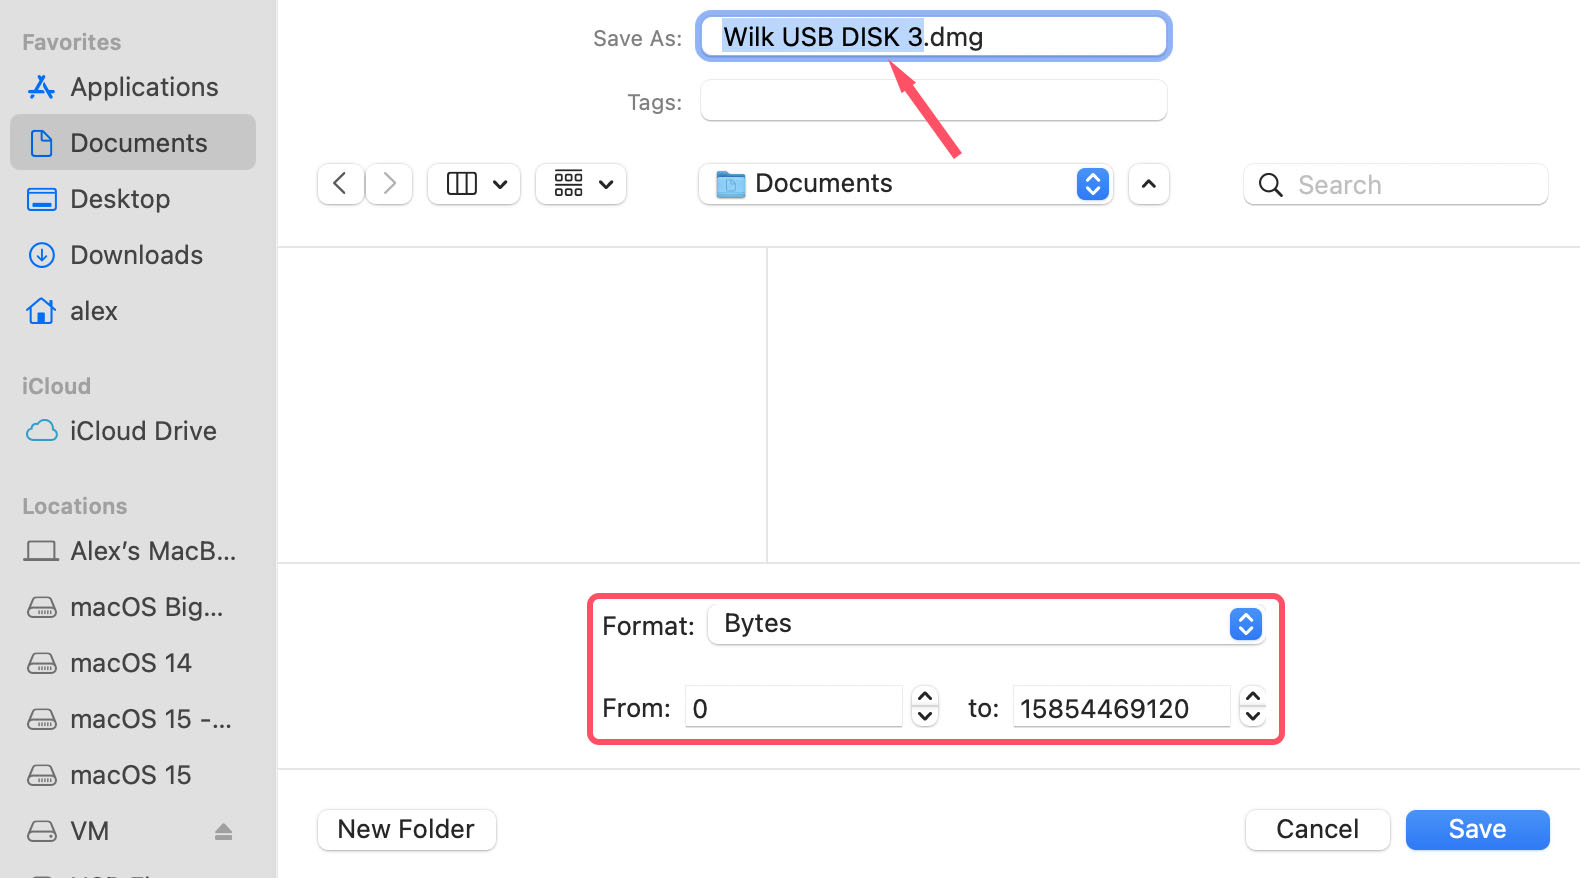
- Choose a name and location for the DMG file to be saved at. There is also an advanced option that lets you choose the start and end positions for the backup image. It can be set up either in sectors or bytes and can be useful in case you know which area of the drive is damaged and would like to skip it.
- Click “Save” and your backup will begin. Status screen looks like this:

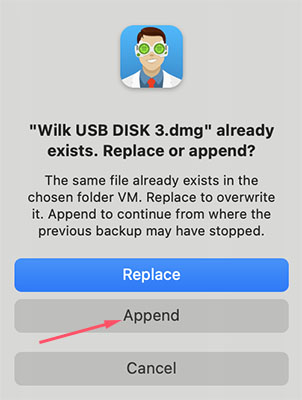
- The backup process can be paused and resumed anytime by clicking the corresponding button. If you paused the backup process and clicked “Back to disks list“, then in order to resume the backup of the disk image, select the disk you were backing up before from the list, click “Create backup” again and leave the settings the same. When asked, use the “Append” option to resume the backup from where it stopped the previous time.
 💡 Note that in case the drive has some issues and performs poorly at this point, it might disconnect often. Disk Drill will automatically resume the backup every time the drive comes back online.
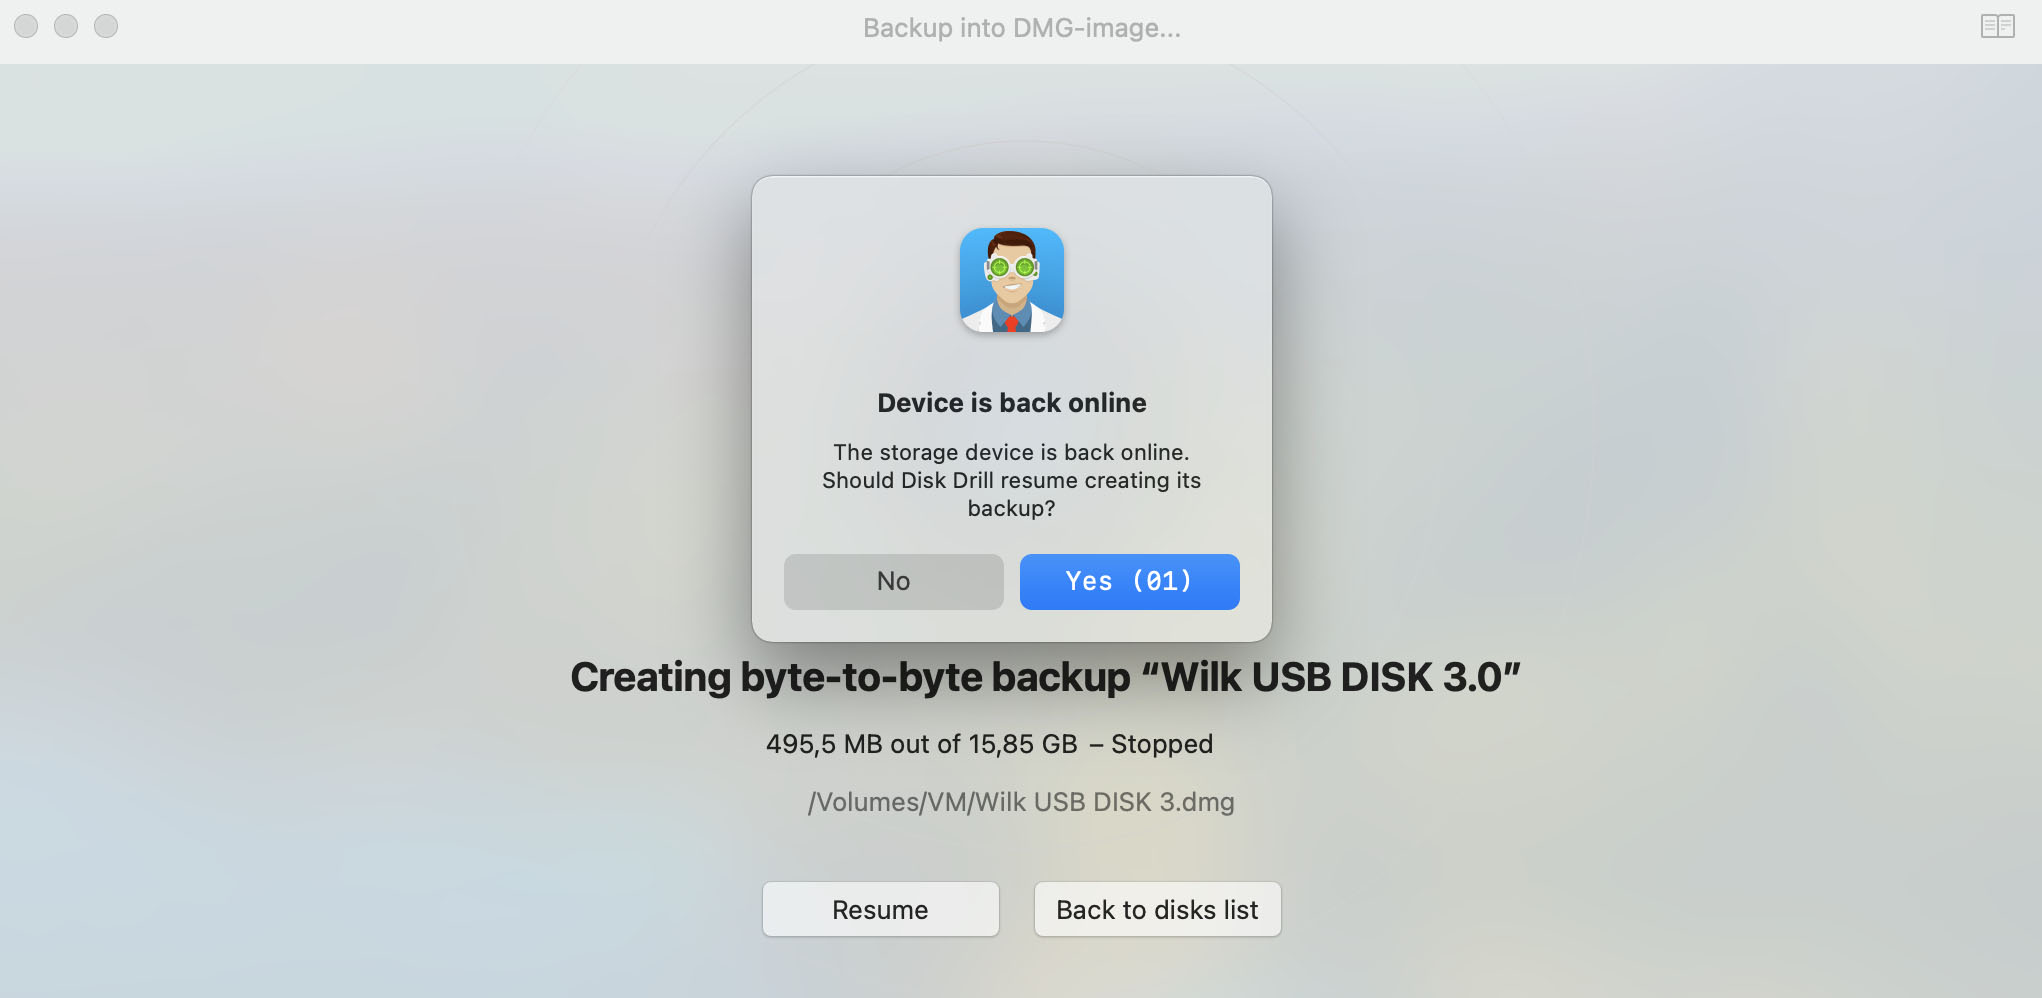
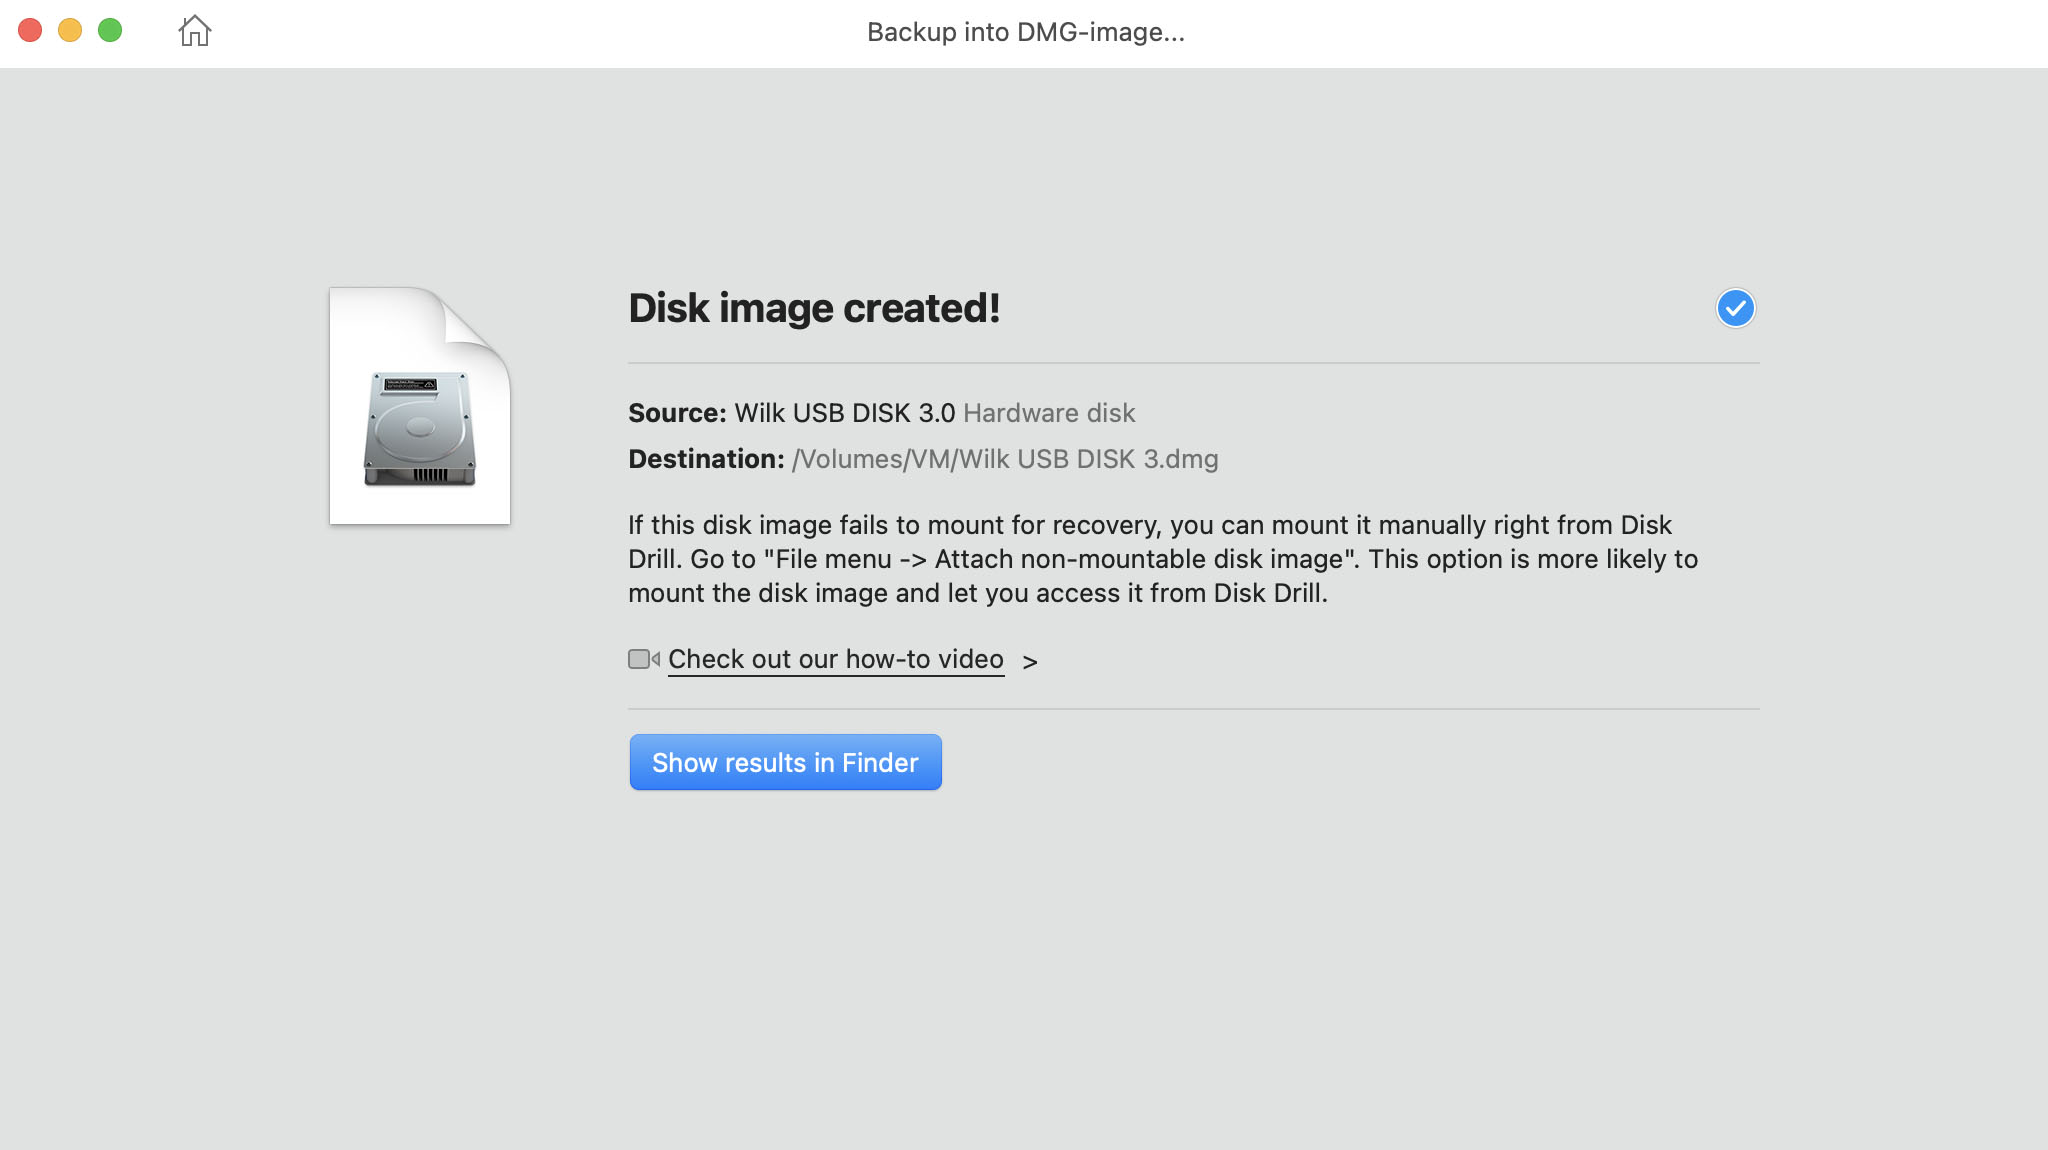
- When the backup is complete you will see the following message:
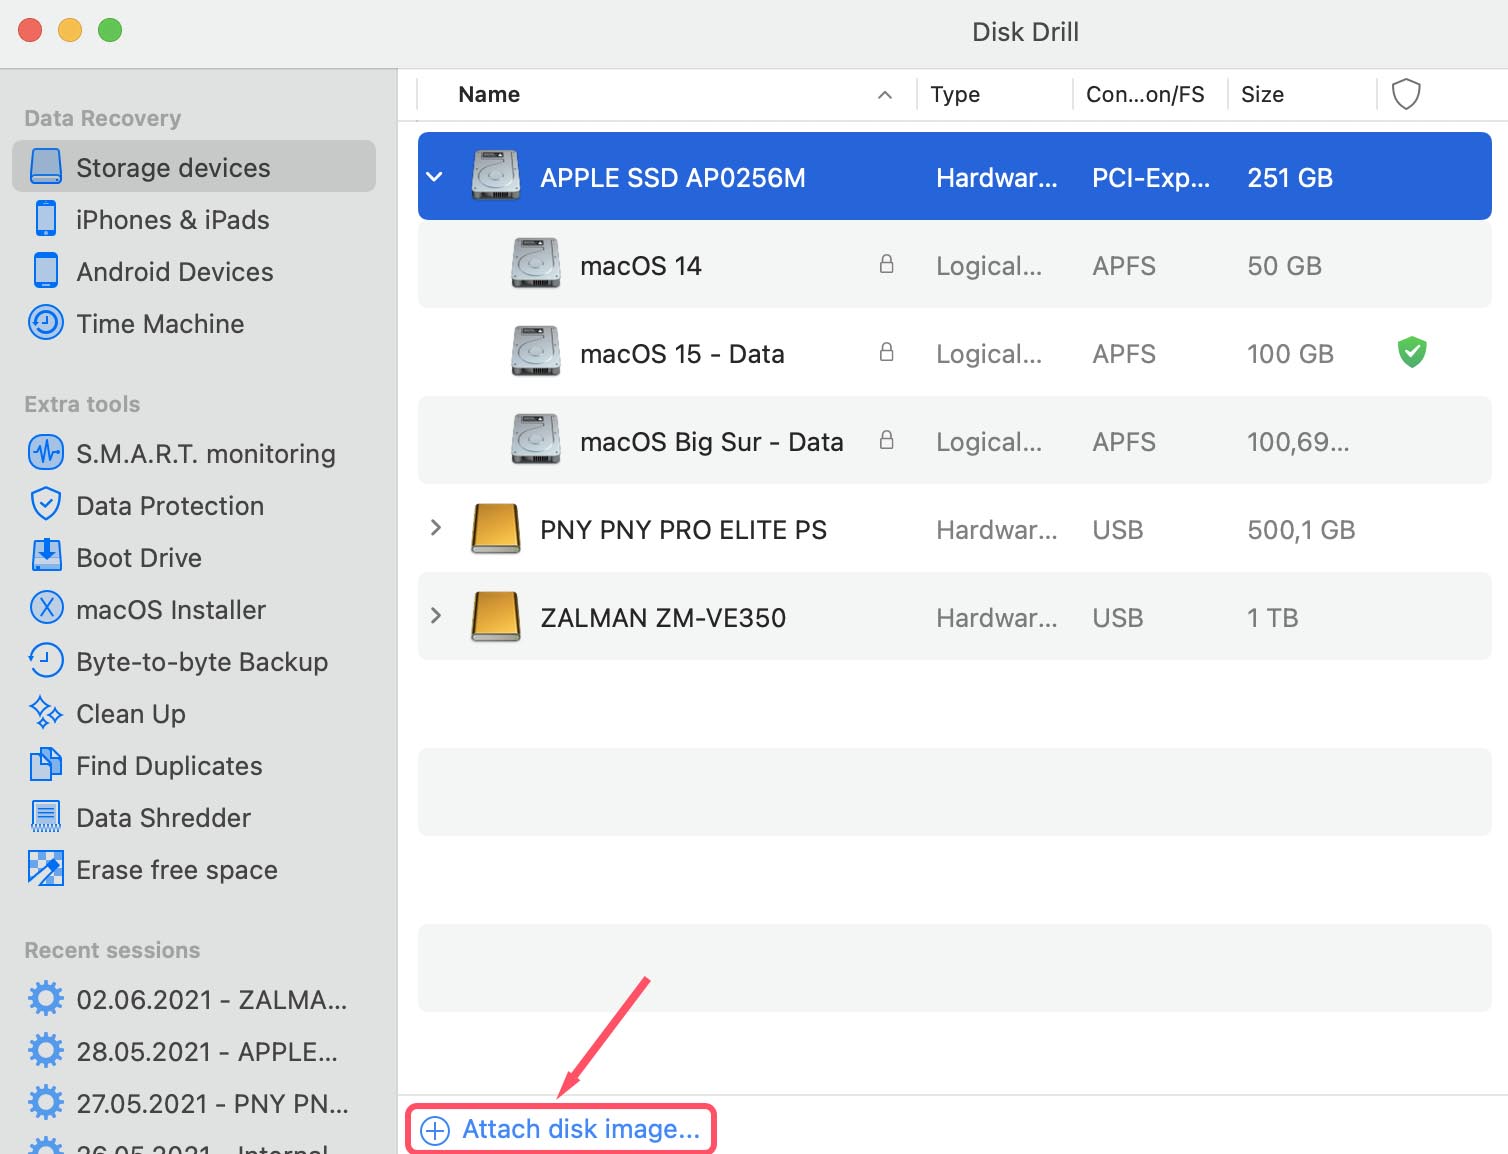
- At this point you want to eject the original damaged disk that we just copied. After the disk is ejected, we now want to attach the recently created disk image. Choose “Storage devices” from the left panel in the “Data Recovery” menu and then select “Attach disk image…” at the very bottom of the app window. Alternatively, you can drag and drop the created DMG file to the Disk Drill window.
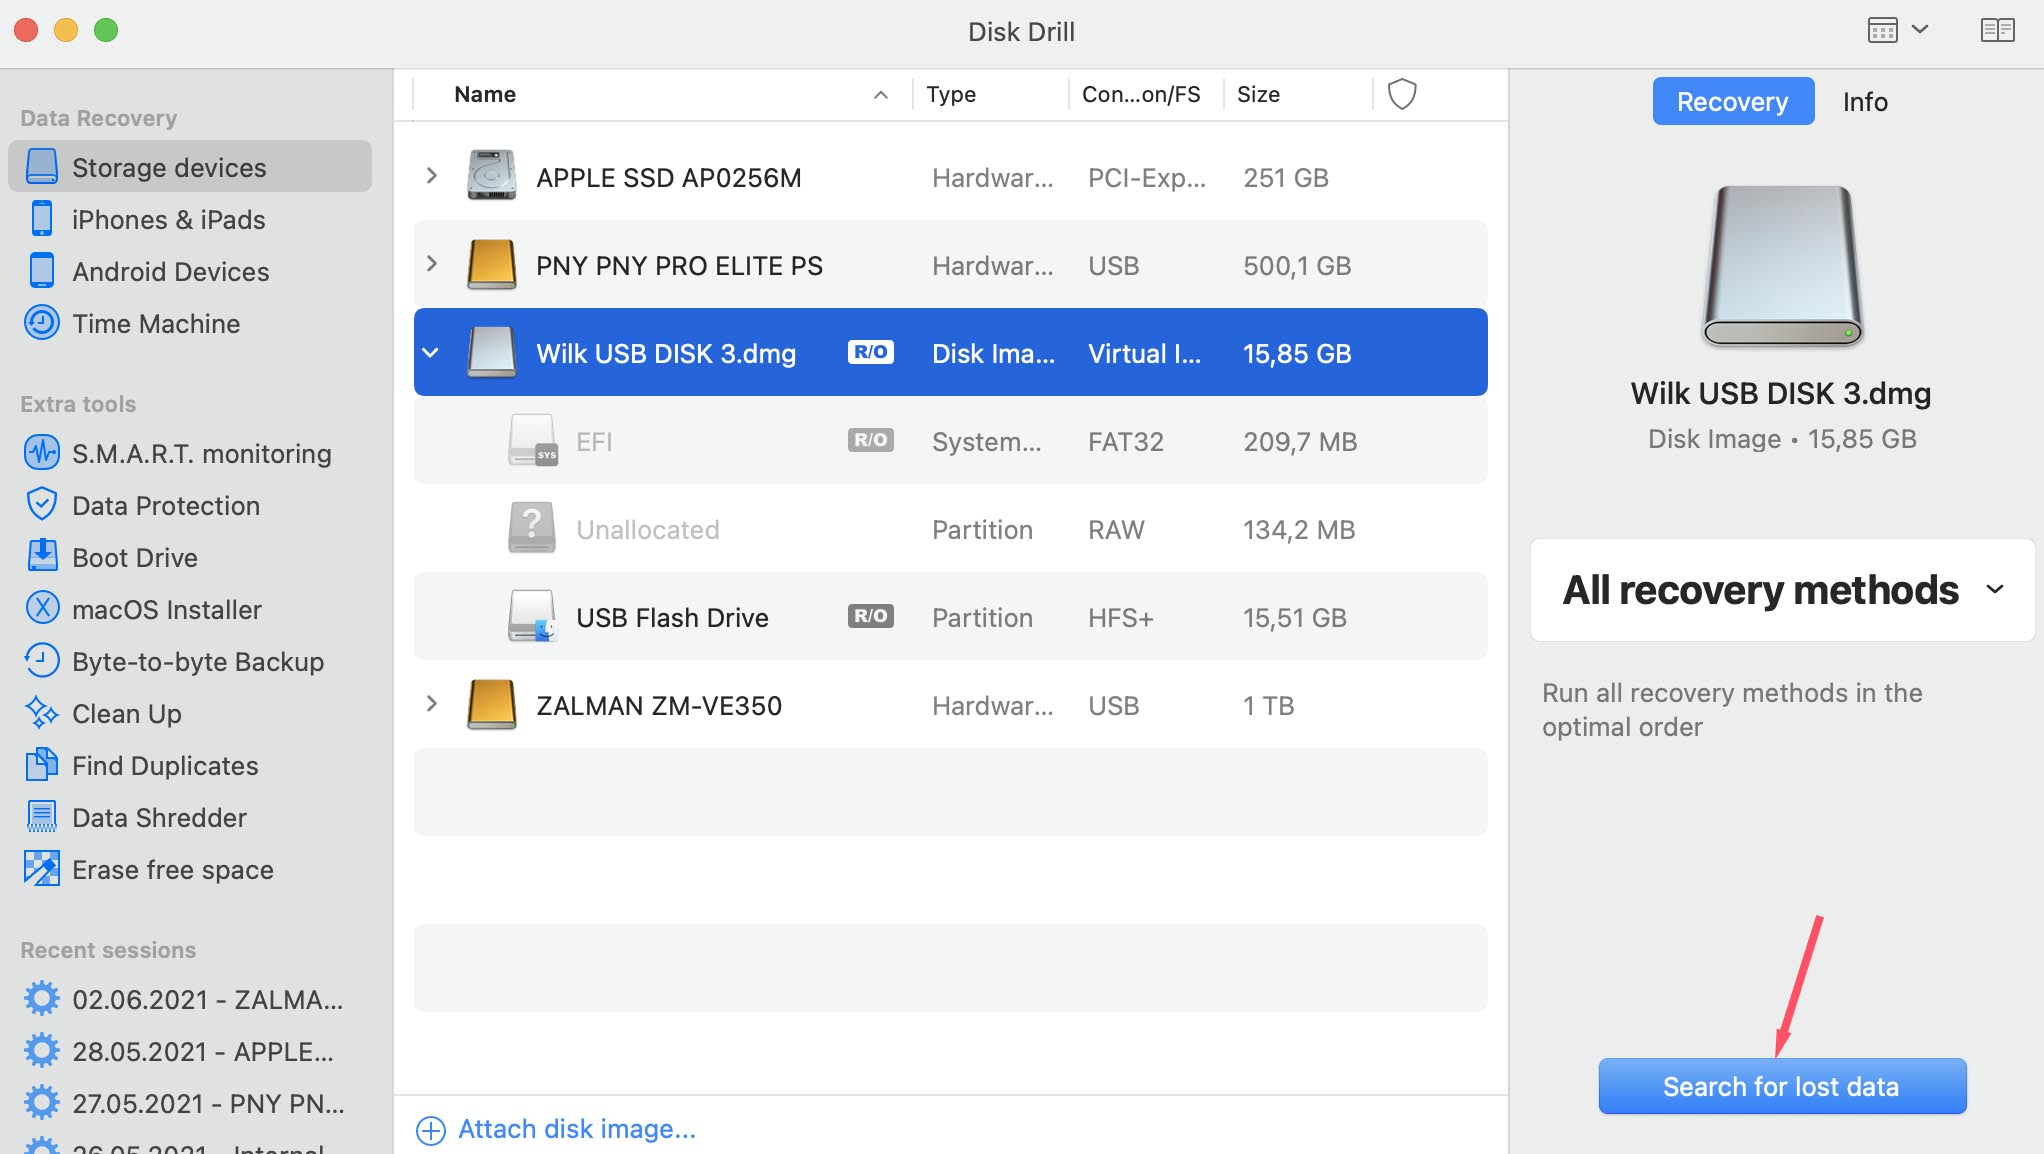
- Select the image file that was created earlier in the process. Here we select “Wilk USB DISK 3.dmg”. Click “Search for lost data” at the bottom right to begin the recovery process by scanning the disk image.
- When the scan is complete, the next screen we see is this one:
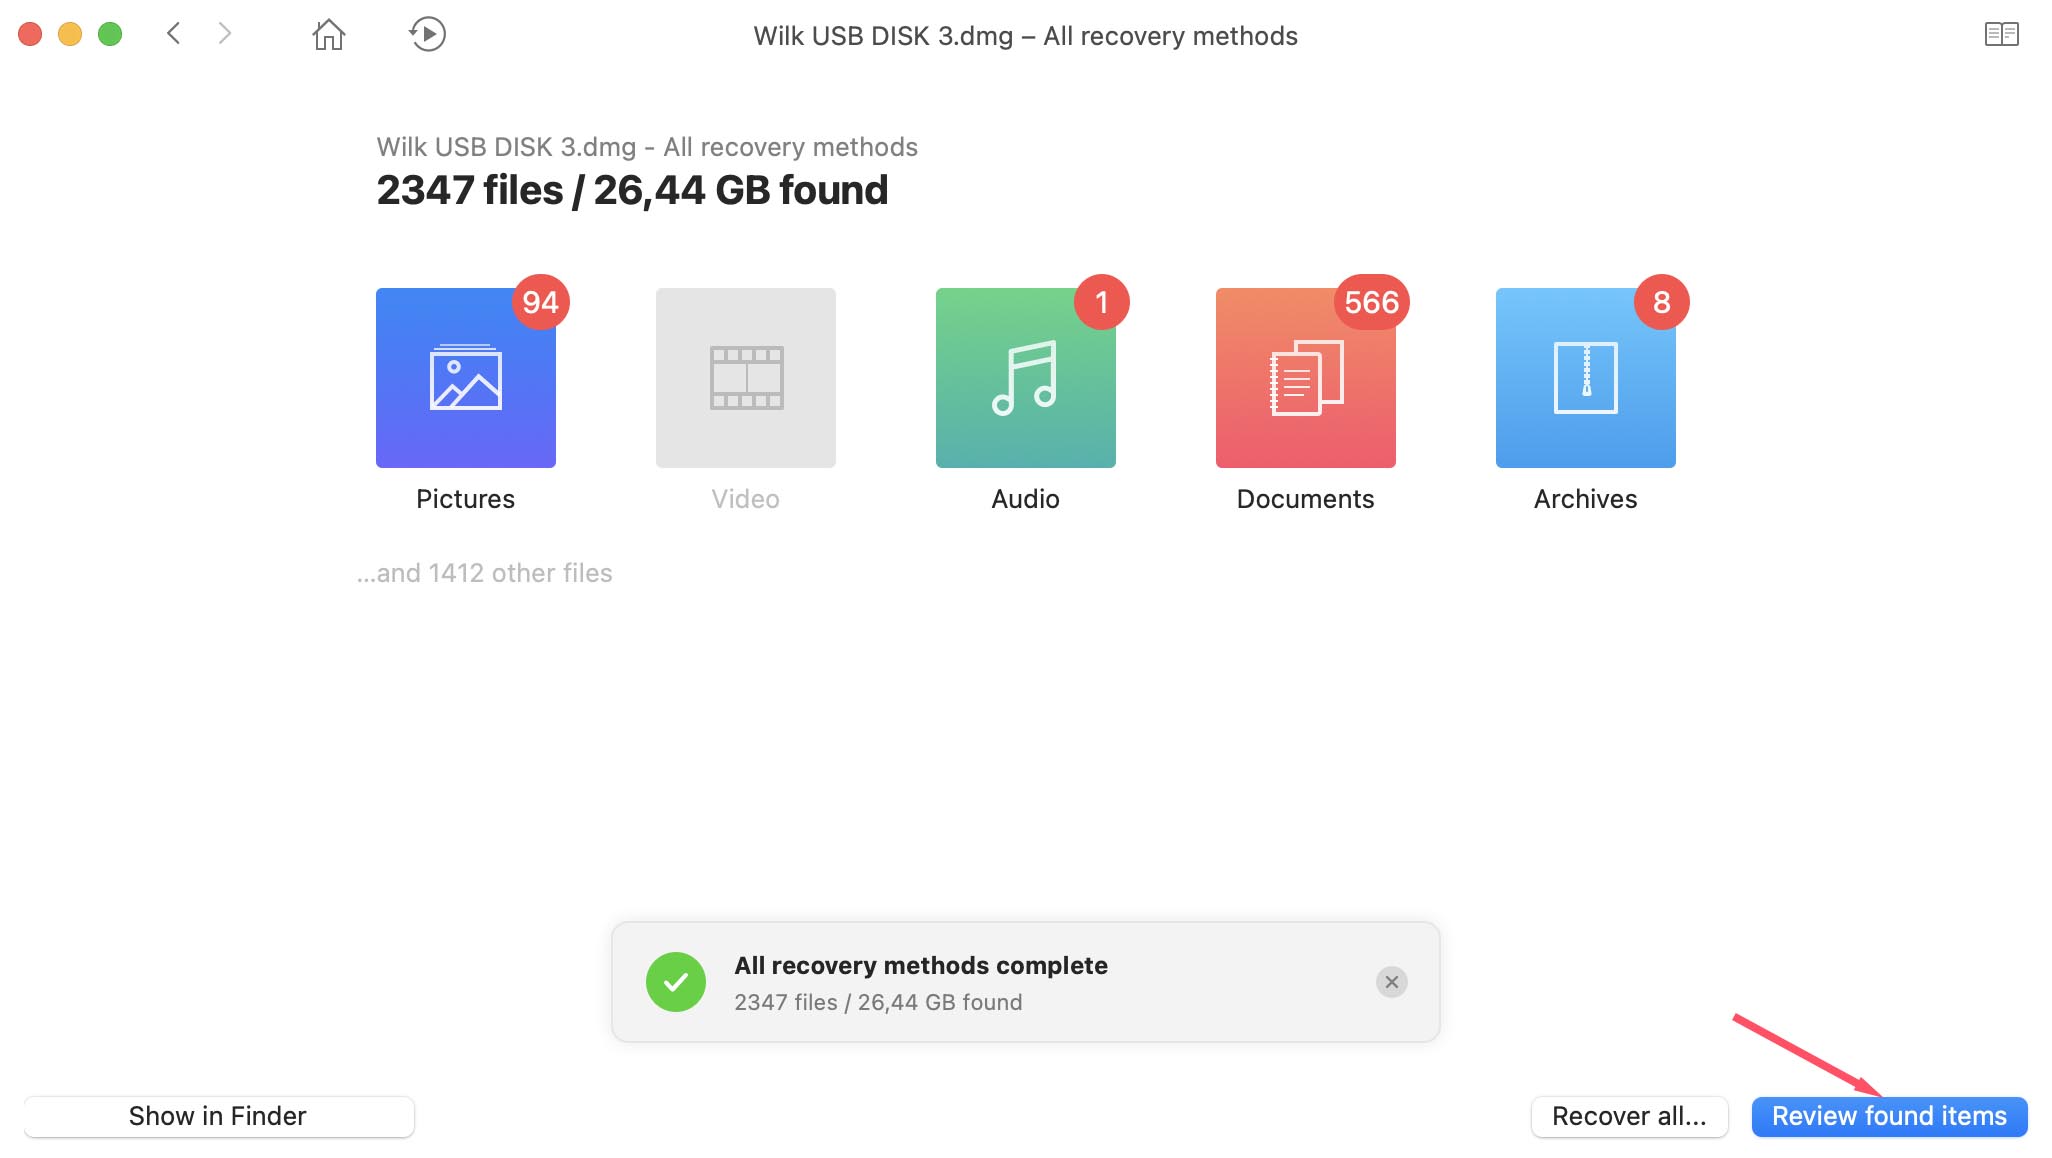 Click “Review found items” to see the results.
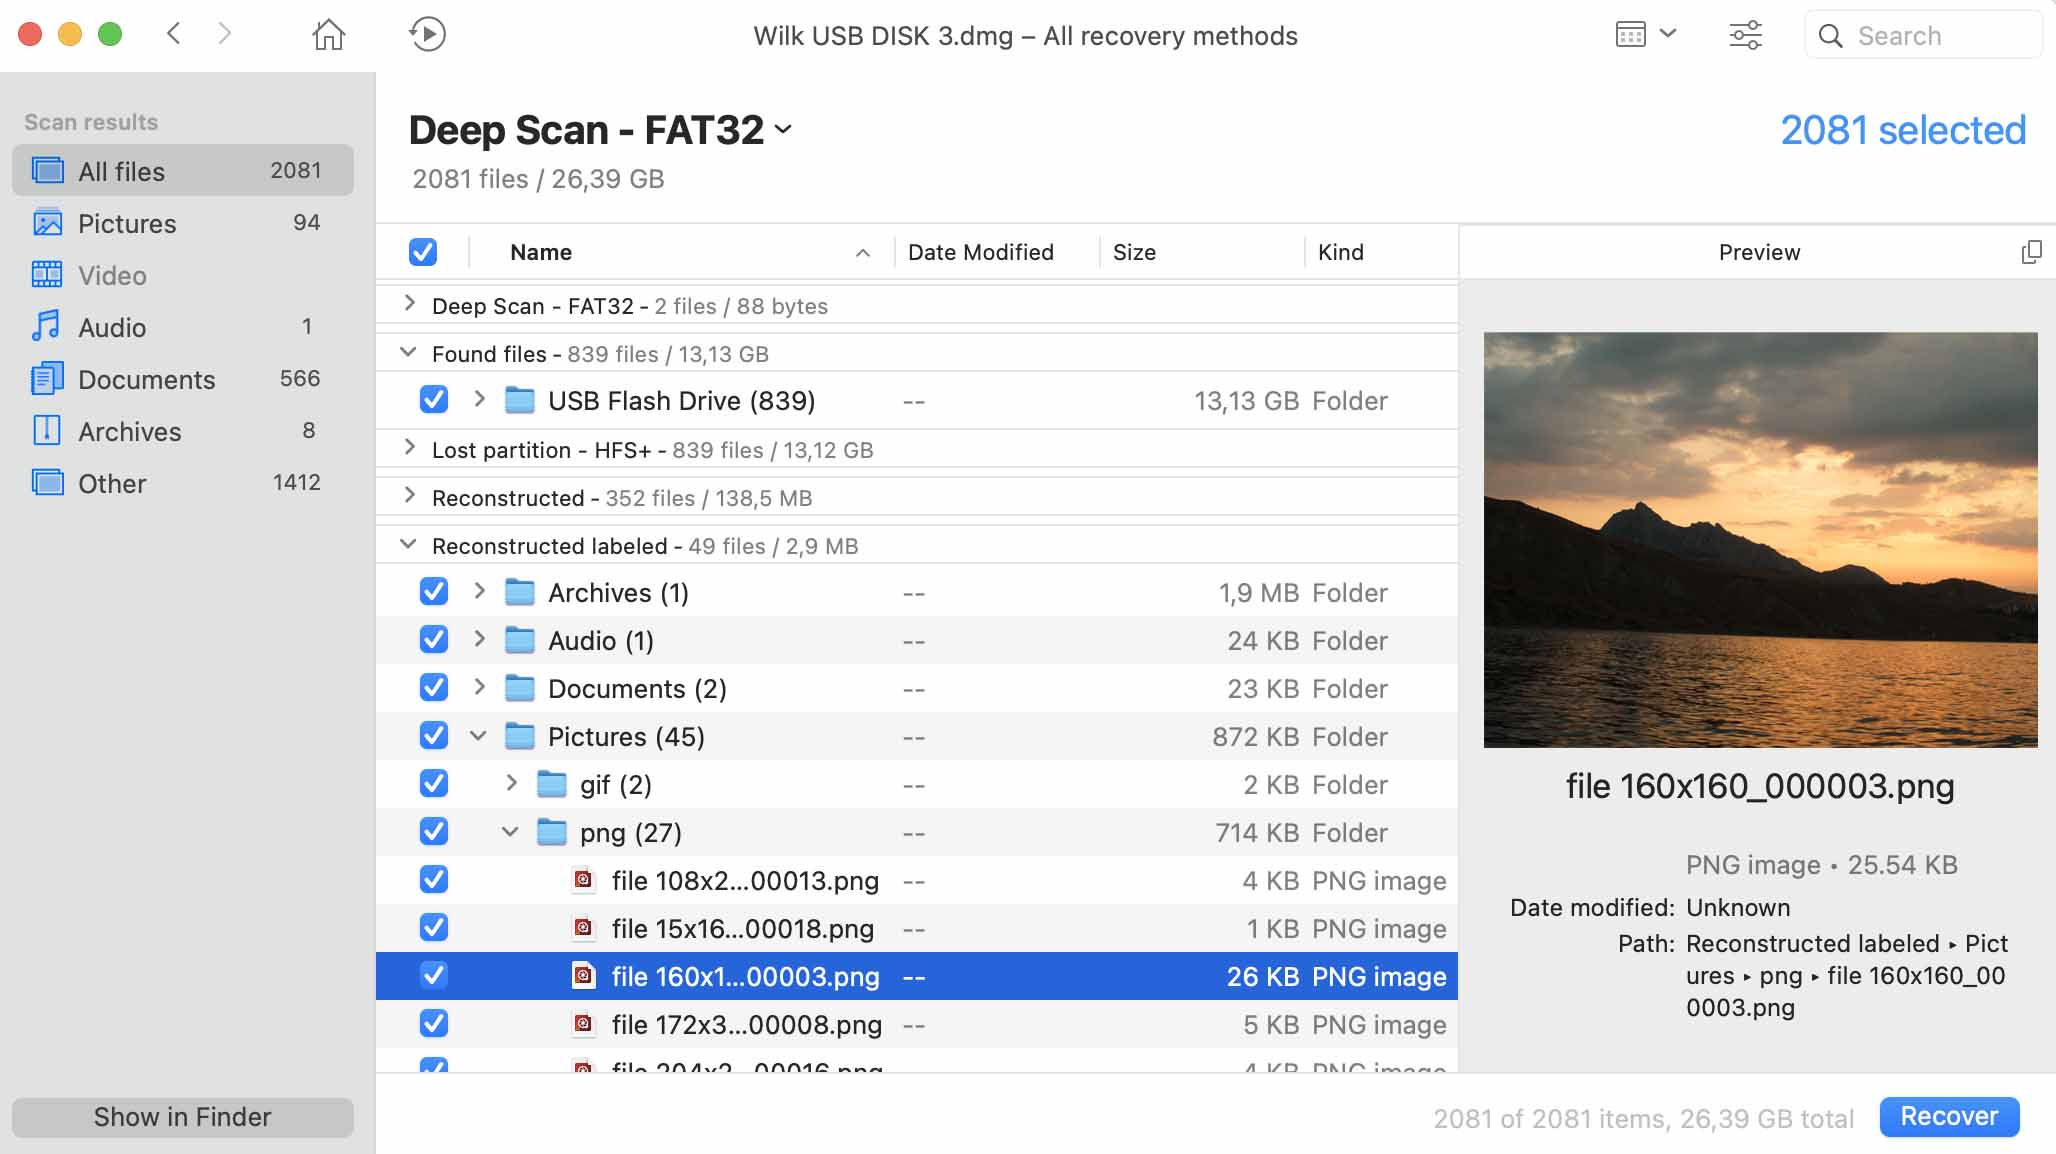
 - Select the files that you want to recover from the disk image. You can also select a location where the recovered files will be stored. Now you simply check the boxes of the files that you want to recover. When your selection is complete, click the “Recover” button in the top right of the screen. This performs the actual data recovery.
- When the recovery is complete, you will see this screen:
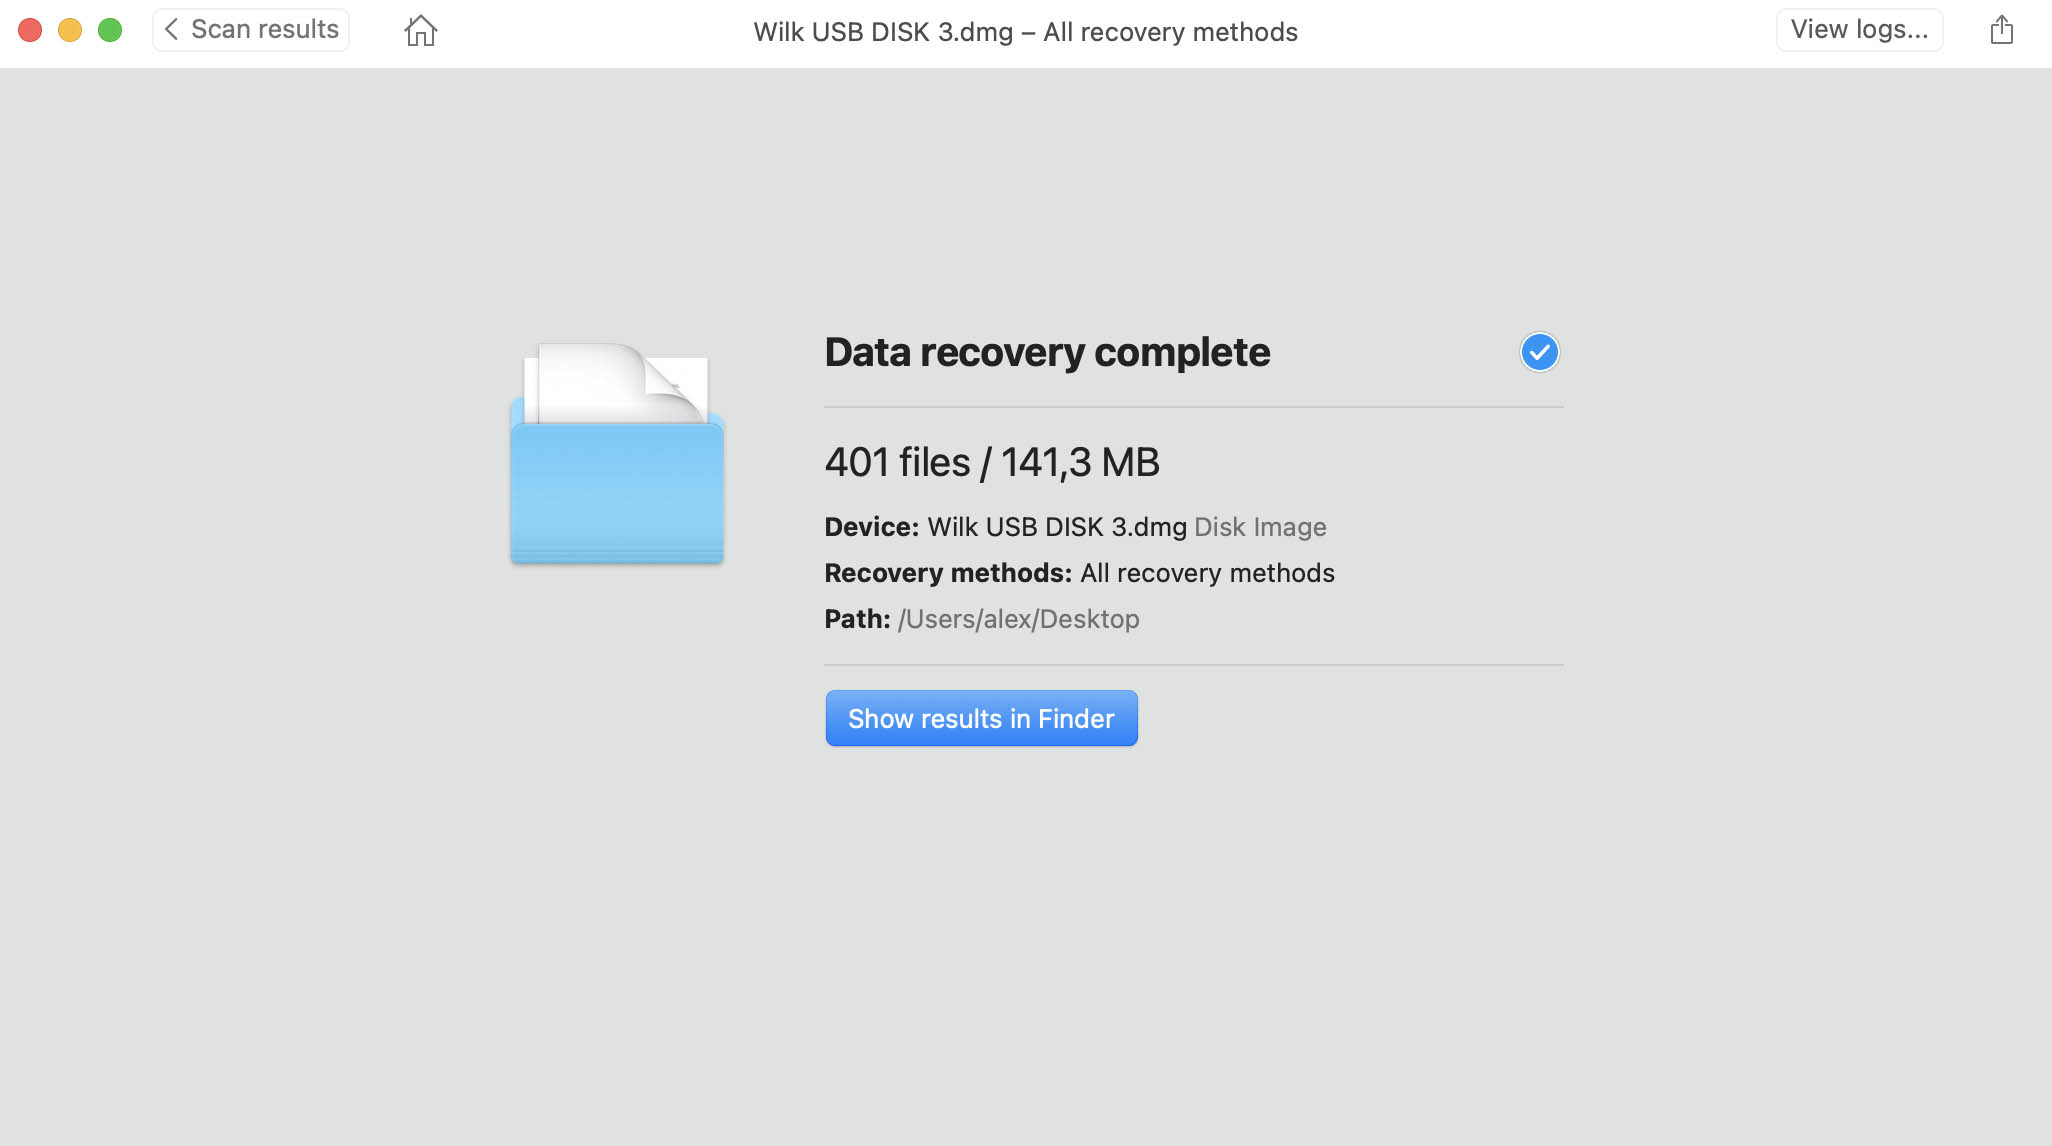
Using Disk Drill and this procedure to recover files from a damaged hard drive that is still accessible gives you a greater chance of performing a successful recovery. You only make one last pass on the damaged disk as you create the disk image, and all further recovery procedures can then use that image. This minimizes the opportunity for a total disk failure before you get a chance to safeguard the data. Disk Drill provides all the tools to accomplish this data recovery task in one package.